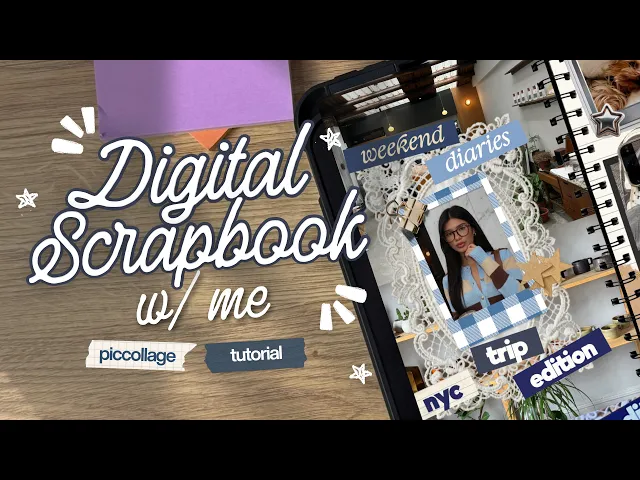
How to Create an Aesthetic Digital Scrapbook on iPad & Mobile

How to Create an Aesthetic Digital Scrapbook on iPad & Mobile

How to Create an Aesthetic Digital Scrapbook on iPad & Mobile

4 min 49 sec

f you love preserving memories but don't have the time to sit down and manually journal, digital scrapbooking is the perfect solution. In this tutorial, we will show you how to design a beautiful, aesthetic digital scrapbook right from your iPad or mobile device using the PicCollage app. Whether you want to document a recent trip, a special milestone, or everyday moments, creating a digital scrapbook gives you the creative freedom of paper crafting with the convenience of your screen. Follow these simple steps to build your own gorgeous, layered pages.

Step 1: Open a Blank Canvas and Select a Background

Start by opening the PicCollage app and choosing a blank freestyle canvas. To get that authentic scrapbook aesthetic, head to the backgrounds menu and select a textured option - think classic craft paper, grid lines, or a subtle vintage pattern.

Step 1: Open a Blank Canvas and Select a Background

Start by opening the PicCollage app and choosing a blank freestyle canvas. To get that authentic scrapbook aesthetic, head to the backgrounds menu and select a textured option - think classic craft paper, grid lines, or a subtle vintage pattern.

Step 2: Import and Arrange Your Photos

Tap to add your favorite photos from your device's camera roll. Don't worry about making them look perfectly aligned just yet. Digital scrapbooking looks best when it feels organic, so feel free to scatter and tilt your images.

Step 2: Import and Arrange Your Photos

Tap to add your favorite photos from your device's camera roll. Don't worry about making them look perfectly aligned just yet. Digital scrapbooking looks best when it feels organic, so feel free to scatter and tilt your images.

Step 3: Use the Cutout Tool for a Hand-Crafted Look

To give your page a genuine paper-craft vibe, use the app's Cutout tool. You can manually trace around your subjects or use the smart AI auto-cutout feature to remove backgrounds. This makes your photos look like they were physically cut with scissors and glued to the page.

Step 3: Use the Cutout Tool for a Hand-Crafted Look

To give your page a genuine paper-craft vibe, use the app's Cutout tool. You can manually trace around your subjects or use the smart AI auto-cutout feature to remove backgrounds. This makes your photos look like they were physically cut with scissors and glued to the page.

Step 4: Layer Aesthetic Stickers and Washi Tape

This is where the aesthetic truly comes together. Open the sticker menu and search for scrapbooking staples like digital washi tape, torn paper edges, vintage stamps, or pressed florals. Layer these items behind and over the edges of your photos to add depth and dimension to your layout.

Step 4: Layer Aesthetic Stickers and Washi Tape

This is where the aesthetic truly comes together. Open the sticker menu and search for scrapbooking staples like digital washi tape, torn paper edges, vintage stamps, or pressed florals. Layer these items behind and over the edges of your photos to add depth and dimension to your layout.

Step 5: Add Journaling with Custom Fonts

A scrapbook isn't complete without the story behind the pictures. Add a text box to jot down your memories, dates, locations, or favorite quotes. Experiment with handwritten, cursive, or classic typewriter fonts to match the digital journal aesthetic.

Step 5: Add Journaling with Custom Fonts

A scrapbook isn't complete without the story behind the pictures. Add a text box to jot down your memories, dates, locations, or favorite quotes. Experiment with handwritten, cursive, or classic typewriter fonts to match the digital journal aesthetic.

Step 6: Save and Share Your Scrapbook Page

Once your layout feels complete, hit save!You can export your digital scrapbook page in high resolution to your camera roll, share it seamlessly to Instagram or TikTok, or even print it out to slip into a physical album.

Step 6: Save and Share Your Scrapbook Page

Once your layout feels complete, hit save!You can export your digital scrapbook page in high resolution to your camera roll, share it seamlessly to Instagram or TikTok, or even print it out to slip into a physical album.

Frequently Asked Questions

Can I lock elements so they don’t move while I edit?

Yes! Tap the Layers icon in the top left of the editor, then tap the lock icon next to any element. Locked items stay put while you move everything else.

Learn more: Guide to Locking and Unlocking Layers

How do I cut out a photo and remove its background?

Double-tap the photo, then tap Cutout. Choose Auto Cutout for a quick one-tap result, or use Scissors to trace the shape yourself.

Can I apply the same edit to all my photos at once?

Yes! After choosing a filter, overlay, border or auto cutout, tap “Apply to all photos” to use it on every scrap at once for a consistent look.

How do I add stickers to my collage?

Tap Stickers at the bottom of the editor. Browse the collections, or tap the magnifying glass to search for something specific.

Can I make my own stickers and reuse them in other collages?

Yes! Double-tap any photo or scrap you want to reuse, then tap More > Collect to save it as a sticker. Find it anytime under More > Collected at the bottom of the editor.

Learn More: Guide to the feature “Collect”

Explore More Tutorials

01 / 00

Blog Image

Photo Editing

• 3 min 05 sec

How to Edit Fall Photos for a Cozy Autumn Look

Blog Image

Photo Editing

• 3 min 05 sec

How to Edit Photos with Magic Tools

Blog Image

Photo Editing

• 3 min 13 sec

How to Edit Photos with Filters and Overlays with PicCollage

Blog Image

Text Editing

• 1 min 59 sec

How to Easily Add and Edit Text in Collages

Blog Image

Text Editing

• 3 min 52 sec

How to Edit Text Backgrounds in PicCollage