How to Easily Add and Edit Text in Collages

How to Easily Add and Edit Text in Collages

How to Easily Add and Edit Text in Collages

1 min 59 sec

Text is what turns a collage into a story. A short caption, a date or a playful title can give your photos context and make the whole design feel finished. But plain text can look flat, especially next to colorful photos.

In this tutorial, you’ll learn how to add text to your collage, give it an instant upgrade with ready-made font and background pairings, and customize it yourself with outlines, curves, spacing and shadows. It only takes a few taps, and your collages will look much more polished.

Step 1: Start with Your Collage

Open PicCollage and create a simple collage with the photos you want to use. Once your layout is ready, you can start adding text on top of it.

Step 1: Start with Your Collage

Open PicCollage and create a simple collage with the photos you want to use. Once your layout is ready, you can start adding text on top of it.

Step 2: Add Text to Your Collage

Add one or more lines of text to your collage, such as a title, a caption or a date. Keep it short at this stage: you’ll style it in the next steps.

Step 2: Add Text to Your Collage

Add one or more lines of text to your collage, such as a title, a caption or a date. Keep it short at this stage: you’ll style it in the next steps.

Step 3: Use Ready-Made Text Styles

Double tap on a line of text to open the editing options, then tap the sparkle icon.

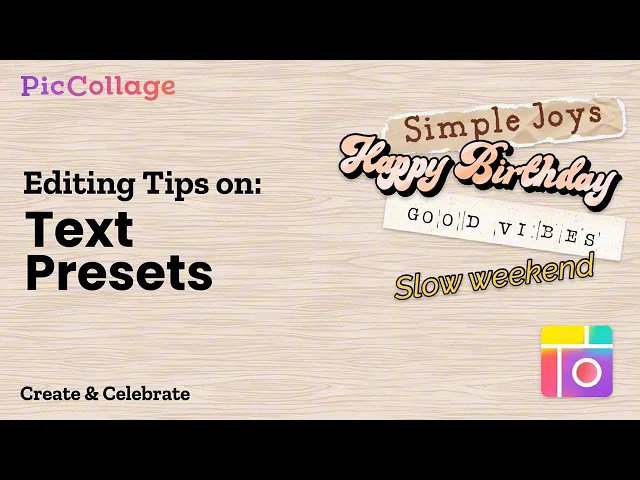
You’ll see a selection of ready-made font and background pairings that you can apply in one tap. Even better, these styles adapt to your collage: the colors change to match the photos you’ve added, so your text always fits the overall look. Pick the one you like best.

Step 3: Use Ready-Made Text Styles

Double tap on a line of text to open the editing options, then tap the sparkle icon.

You’ll see a selection of ready-made font and background pairings that you can apply in one tap. Even better, these styles adapt to your collage: the colors change to match the photos you’ve added, so your text always fits the overall look. Pick the one you like best.

Step 4: Customize Your Text

For more creative freedom, double tap on another line of text and tap the three dots:

This opens a full set of editing tools. You can add an outline to make your text stand out from busy backgrounds, or adjust the size so it fits your layout.

Step 4: Customize Your Text

For more creative freedom, double tap on another line of text and tap the three dots:

This opens a full set of editing tools. You can add an outline to make your text stand out from busy backgrounds, or adjust the size so it fits your layout.

Step 5: Add Curve, Spacing and Shadow

These three tools make the biggest difference. Curve bends your text into an arc, which looks great around a photo or as a playful title. Spacing lets you spread letters apart or bring them closer for a cleaner look. Shadow adds depth so your text pops off the background. Combine them and make a few final tweaks until everything looks right.

Step 5: Add Curve, Spacing and Shadow

These three tools make the biggest difference. Curve bends your text into an arc, which looks great around a photo or as a playful title. Spacing lets you spread letters apart or bring them closer for a cleaner look. Shadow adds depth so your text pops off the background. Combine them and make a few final tweaks until everything looks right.

Step 6: Save and Share Your Collage

When you’re happy with your design, tap Done to save your collage. You can also share it directly using the share buttons on the same screen.

Step 6: Save and Share Your Collage

When you’re happy with your design, tap Done to save your collage. You can also share it directly using the share buttons on the same screen.

Frequently Asked Questions

How do I make my text larger?

You can either enter text editor, tap  '…' icon to use the “+” button or tap the text on the canvas directly, then drag the double-headed arrow icon to resize.

How do I change the text color?

Yes! Enter text editor, tap  '…' icon to use “+” button to widen text box! Note that the width of curve text cannot be adjusted.

Can I widen text box?

A short title, a date, or a few words about the memory can be enough. This sample tip is to make the text support the images rather than explain every detail.

How do I switch from text with style back to plain text?

Double-tap the text, tap the sparkle A icon on the left, then select “Good times” to switch back to plain text.

Learn more: Add and Edit Text

Explore More Tutorials

01 / 00

Blog Image

Photo Editing

• 3 min 05 sec

How to Edit Fall Photos for a Cozy Autumn Look

Blog Image

Collage Basics

• 4 min 49 sec

How to Create an Aesthetic Digital Scrapbook

Blog Image

Photo Editing

• 3 min 05 sec

How to Edit Photos with Magic Tools

Blog Image

Photo Editing

• 3 min 13 sec

How to Edit Photos with Filters and Overlays with PicCollage

Blog Image

Text Editing

• 3 min 52 sec

How to Edit Text Backgrounds in PicCollage